If you catch them early during a regular RV roof inspection, a cracked seam or missing section of sealant only costs you the price of a tube of lap sealant and the time to reseal the affected area. Unfortunately, many RV owners don’t inspect their roof routinely. And if damage or routine wear is left alone, it becomes a much more expensive repair down the line. A thorough camper roof inspection, done on a regular schedule, is the most effective maintenance habit an RV owner can build.
Is It Safe to Walk on Your RV Roof?
The safety of walking on an RV roof depends on your camper’s construction. “Fully walkable” is the industry buzzword to look for here — manufacturers that make campers with sturdy enough roofs to walk on will advertise them as such in their features list. That said, it will also depend on roof type, roof age, condition, and rated weight capacity.
Disclaimer: Getting on an RV roof or using a ladder to inspect it is done at your own risk. Roofs can be slick, uneven, or structurally weak, and a fall can cause serious injury. Use proper fall protection, a stable ladder on level ground, and never work alone or in wet or windy conditions. If you are uncomfortable with heights, have mobility limits, or suspect soft decking, stay off the roof and hire a qualified technician.
Know Your Roof Type and Weight Limit
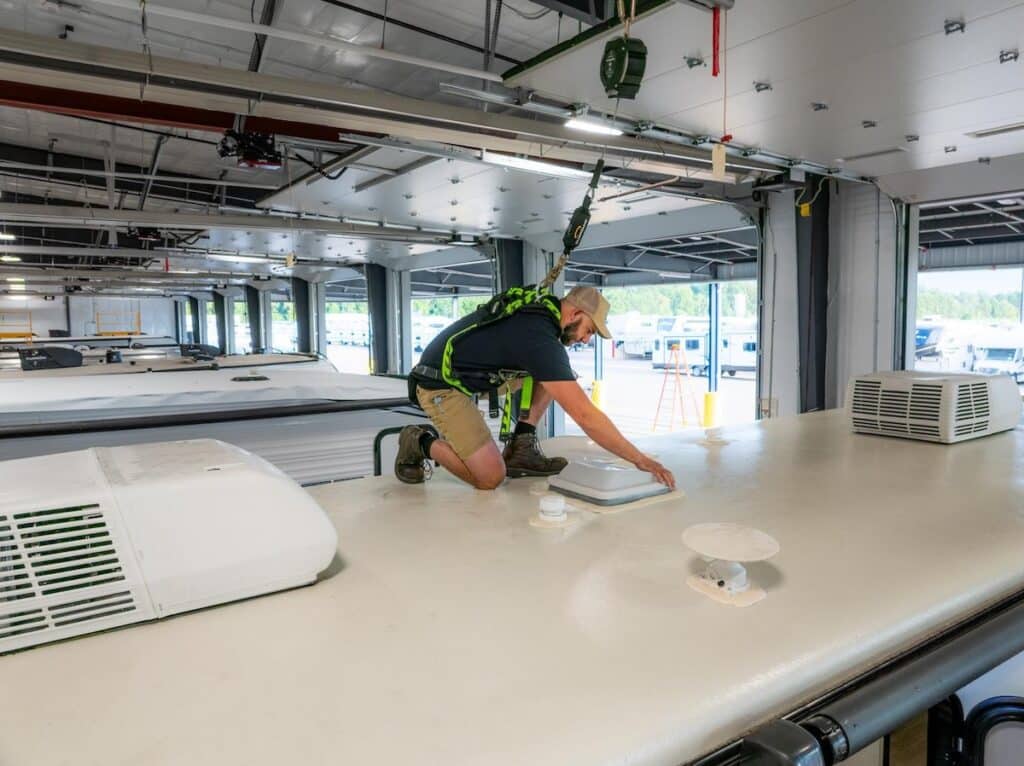
Most RV roofs are rated for around 250 pounds, but this varies significantly by manufacturer and model. The most reliable way to find your roof’s specific weight limit is to check your owner’s manual or contact your RV manufacturer using your VIN or your camper’s specific year, make, and model. In addition, many RV ladders have a weight limit printed on one of the rungs, but beware that the ladder’s weight rating is not necessarily indicative of the weight rating for the entire roof.
Roof material also matters for how you walk, not just whether you can:
EPDM and TPO rubber roofs are walkable for most adults, but the membrane is soft and can easily be damaged by sharp objects or direct, concentrated pressure. Avoid stepping directly on vents or skylights, and keep your weight moving rather than standing in one spot.
Fiberglass roofs are generally more rigid and can support weight more uniformly, but avoid vent and accessory cutouts where the decking is unsupported.
Aluminum roofs are solid underfoot in good condition, but corroded or aged aluminum can become brittle. Inspect the ladder and edge trim condition before stepping on.
Regardless of roof type, use footwear with soft, non-marking soles, distribute your weight evenly, and have at most one person on the roof at a time. If your roof has known damage, you’re uncomfortable getting on the roof, or the condition is uncertain, a professional roof inspection is the right call. Camping World technicians can assess your roof without putting you at risk.
Technician Tip: Where you walk is important as well: walking over the rafters is safer than stepping between them.
What to Bring Up With You
While you don’t need many tools, these essentials will make your roof inspection more thorough:
- Soft brush or broom to clear debris before inspecting
- A bucket of mild soap and water with a soft cloth
- Plastic scraper or putty knife to remove old sealant as needed
- A dark cloth or rag for the chalk test on rubber roofs
- Tube of lap sealant compatible with your roof type
- Phone or notepad to photograph and document what you find
How Often Should You Inspect Your RV Roof?
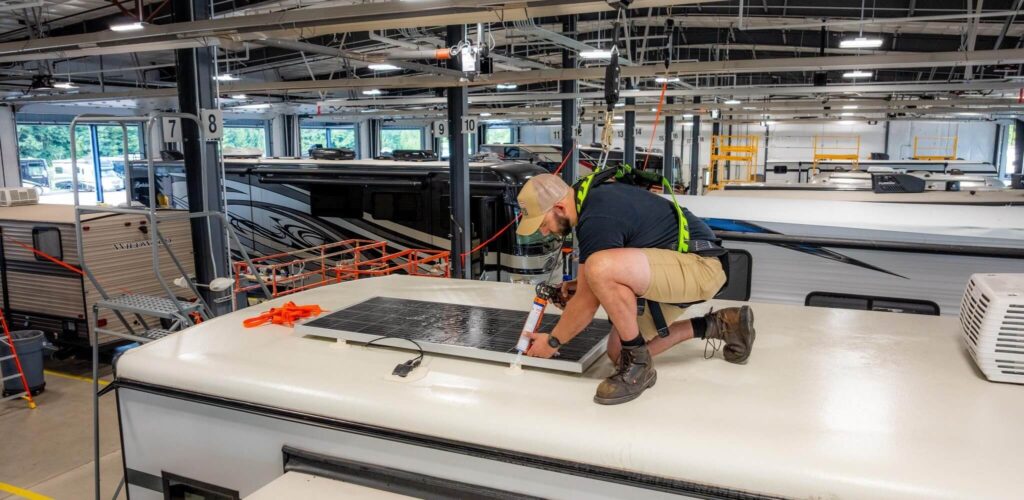
There are generally two types of roof inspections that RV owners should complete regularly.
Before and After Every Trip
A quick roof check should be part of every RV pre-trip checklist. RV roofs can be damaged in storage, and the idea is to catch that damage before subjecting it to wind, rain, and road debris on a trip. It’s not the full roof inspection detailed below, but you should scan for anything that changed since your last trip.
Post-trip is equally important, especially after heavy rain, high winds, or a route with overhanging vegetation. Roof damage can occur while you’re towing and remain unknown to you because you don’t physically hear or see the damage while operating your tow vehicle. Scan it again when you get to camp and after returning your RV to storage.
The Annual Full Inspection
A more complete roof inspection should be completed at least annually. Some manufacturers recommend a semi-annual inspection every 6 months. Most owners will build this into their spring prep checklist to get their camper ready for peak travel season. Every seam, every penetration, the chalk test on rubber roofs, and a complete interior scan.
Annual resealing should happen at the same time. Any sealant showing cracks, gaps, or separation should be removed and replaced during this inspection — not flagged for later.
RV Roof Inspection Checklist

Work through this checklist from front to rear. Be aware that most sealant failures are only visible up close.
Check the lap sealant around all roof-mounted accessories for cracks, gaps, peeling, or signs of wear.
Be sure to check all four corners of every vent, skylight, and air conditioning unit. Don’t forget the less obvious accessories like antennas, solar panel mounts, plumbing vents, cable entry ports, and others. Any gap between an accessory flange and the roof membrane is a leak waiting to happen.
Inspect for exposed screws and fasteners securing roof-mounted accessories.
Rust staining around a screw head is a reliable indicator that the sealant has failed and water has been reaching the fastener.
Make sure all seams and edges are sealed properly without any peeling.
Pay close attention to the seam where the sealant meets the membrane (not just the center of the bead), transition molding along all four roof edges where the membrane meets the sidewalls, and any area where two materials meet at a different angle — these flex points tend to fail first.
Run your finger along every sealant bead.
Healthy lap sealant is flexible and adheres firmly to the accessory flange and the membrane. It should move slightly under pressure but not lift. Failed sealant will feel hard, brittle, or rubbery, and will show visible cracks or gaps.
Inspect the membrane surface according to the roof material.
Rubber roofs (EPDM and TPO): Perform the chalk test by rubbing the membrane firmly with a dark cloth. Some chalking is normal on aged rubber roofs, but heavy transfer indicates significant oxidation. An oxidized membrane has lost much of its UV resistance and waterproofing capacity and may need coating rather than spot repair. Also look for debris punctures and any cracks, tears, bubbles, or areas where the membrane has separated from the substrate.
Technician Tip: A black roof is a clear indicator that the vinyl surface has dissolved completely, exposing the rubber backing. This would require a complete roof material replacement.
Fiberglass roofs: Look for hairline cracks, crazing (a fine network of surface cracks), or any area where the gelcoat has chipped or separated. Look across the surface at a low angle in good light to catch sometimes-subtle surface irregularities.
Aluminum roofs: Look for corrosion, lifted seams, dents or deformation, and any area where the metal has separated from the substrate or edge trim. Corrosion around fasteners can indicate that the sealant at those points has failed.
Note the location and approximate size of any soft spots across the full roof surface.
Spongy areas indicate that moisture has penetrated the substrate. A soft spot that has been present for an extended period often indicates water has reached the structural decking or framing below.
Look for bubbles or ripples in the membrane.
These can indicate delamination between membrane layers or between the membrane and the substrate, as well as membrane stretching. These conditions will worsen with every rain and every mile, and should be flagged for professional assessment.
Inspect the interior.
Check the ceiling around all vents, skylights, and air conditioning units for discoloration, soft spots, or bubbling. Gently press on these areas to check for unusual softness. Pay close attention to the ceiling along the sidewall seam above windows and slide-out.
Cross-reference your interior and exterior findings.
If you find interior staining in an area where the exterior sealant looked fine, there may be an entry point you didn’t see, or the water may be traveling from a different zone.
If you’ve found signs of active water damage during your inspection, our RV roof leak repair guide walks you through the diagnosis and repair process step by step.
When to Call a Professional
A certified Camping World technician goes beyond what’s visible from the surface. Roof membrane adhesion testing identifies delamination that looks solid from the surface. Moisture meters can detect elevated moisture levels in the substrate and framing before soft spots develop. Technicians can also assess the structural framing condition beneath a soft spot without further damaging the membrane.
A professional inspection is warranted annually or whenever you suspect damage that’s not visible on the surface.
FAQs About RV Roof Inspection
Routine inspection is a DIY job for any physically capable RV owner who is comfortable on a ladder and aware of their roof’s weight limit. You don’t need special tools or training to work through the checklist above. A professional inspection is warranted annually to check what’s not accessible or visible on the surface, and any time your inspection reveals conditions you’re unsure how to evaluate.
The cost of a professional RV roof inspection varies by service center and the scope of the inspection. For full pricing information on professional RV roof inspection and repair, contact a Camping World Service center.
For product recommendations matched to your specific roof type, see our best RV roof sealant guide.
Have questions about roof repairs or maintenance? Good Sam Elite members can call the Good Sam Technical Support hotline at 844-649-4700 for questions and maintenance tips.
Have you added RV roof inspection to your regular maintenance routine? Tell us what you found on your last inspection in the comments below.
The post How To Inspect Your RV Roof appeared first on Camping World Blog.