There’s a step between buying your RV and taking your first trip that almost nobody does: spend a night in your RV at home.
You don’t even have to sleep in it. Just get to know your new RV in the comfort of your own driveway. It’s an excellent way to practice the basics without campground neighbors looking over your shoulder. Just you, your driveway, and all the time in the world to get to know your new rig. If something goes wrong, you’re still at home, where you can troubleshoot, call for help, do more research, and still sleep in your own bed if needed.
Note: Check your local regulations to determine whether and for how long your RV can remain in your driveway, and whether hookups are permitted.
What You Can Accomplish In Your Driveway
The goal is simple — get comfortable with your RV before a real trip depends on it. You won’t have the same equipment, water, and power as a full-hookup campsite, but you can still learn a lot about how your RV works.
Below, we’ve provided steps you can safely complete in your driveway along with links to more detailed guides if you have additional questions.
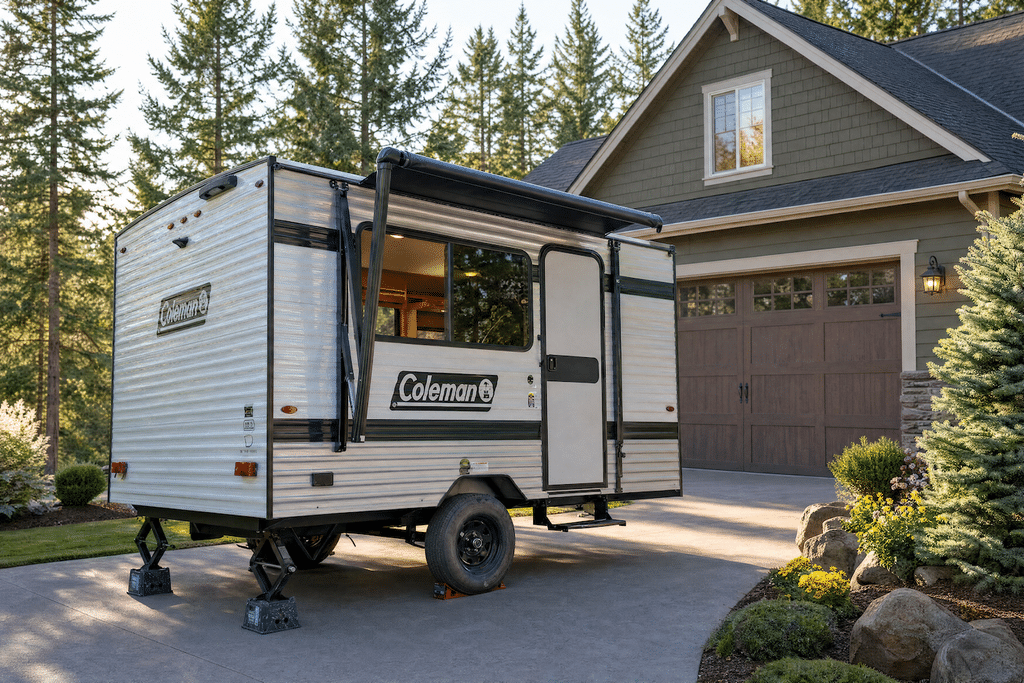
1. Level and Stabilize Your RV
- Park where the RV will sit and check how far off level it is side to side.
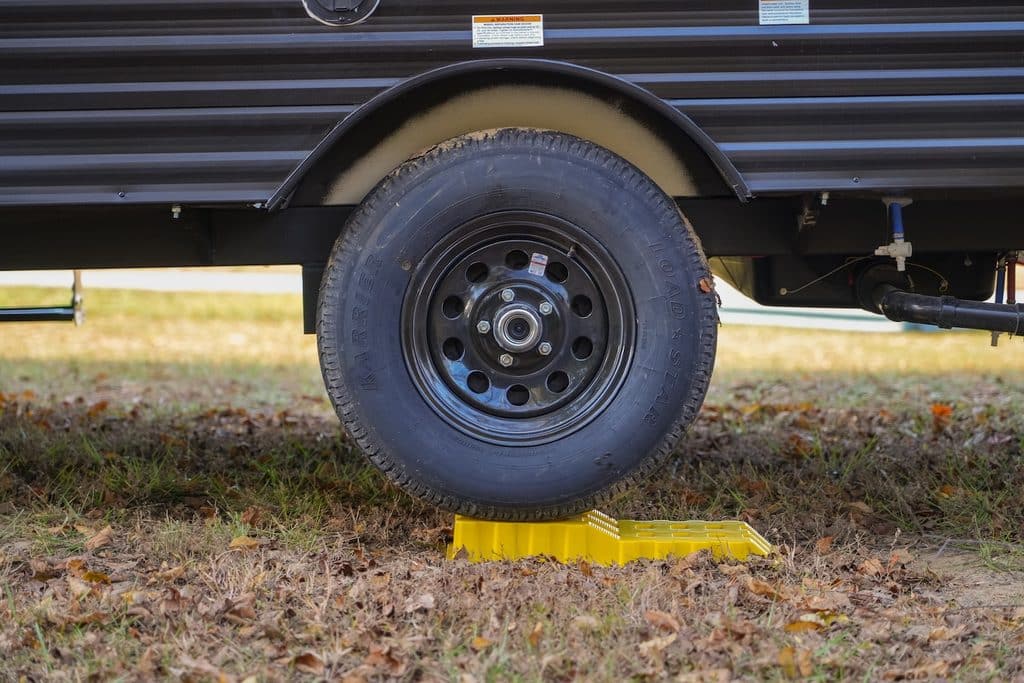
- With the tow vehicle still attached, position leveling blocks or ramps at the low-side tires and pull or back onto them until the RV sits level across its width.
- Chock the wheels on both sides.
- Disconnect the tow vehicle.
- Level front to back with the tongue jack or fifth wheel landing gear.
- Lower the stabilizer jacks last. They steady the RV, they don’t lift or level it.
Want to walk through everything? Read our full guide.
2. Set up “Camp”
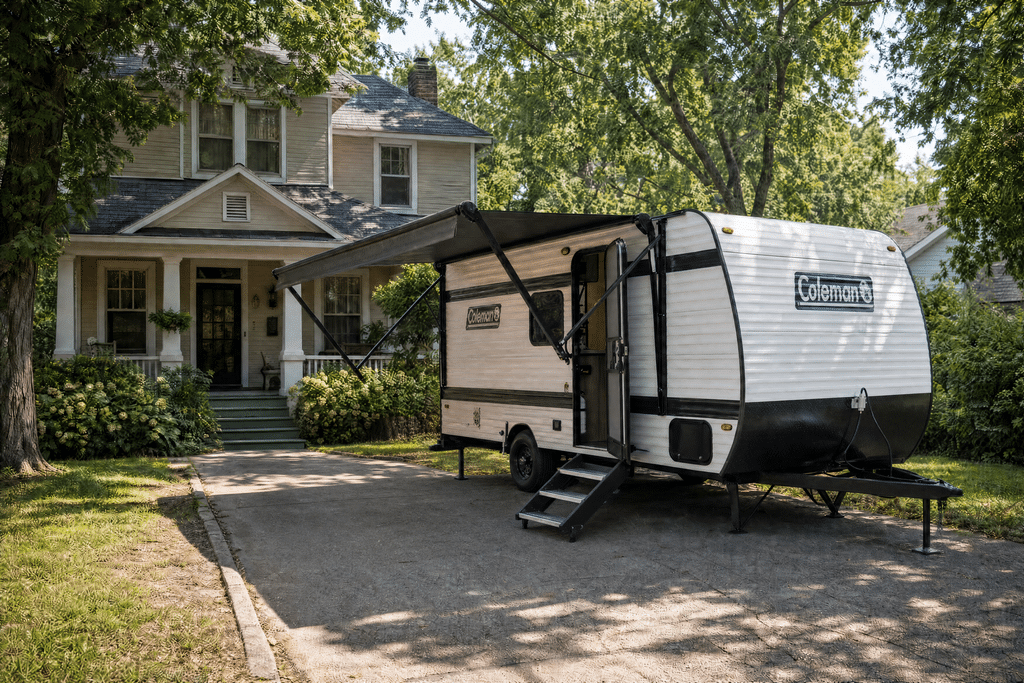
This is the fun part — you get to test many of the features that made you want to choose your RV model in the first place.
Extend the slides. Most RV slide systems operate on 12V DC, so make sure you have adequate battery power and watch for any unusual voltage drop on the control panel or signs of strain while they move. Make sure nothing is in their path and that the slide seals when fully extended and retracted. How to extend slideouts.
Open the awning(s). Run it all the way out. Knowing its length helps you pick and position at a campsite. If your awning is manual, learn the strap, the lock, and the travel position. How to open RV awnings.
Test the exterior lights and make sure everything is working and that you know which switches control them.
Drop the steps and look through all of the exterior storage compartments.
Setting up your RV can be exciting, but it’s also a good chance to try out the furniture, open all the cabinets, and explore different features.
By the end of this, you’ll have found the gaps in your gear, too. No trash can? No dish soap? These are easy fixes at home, but might be annoying when camping. Our list of RV essentials for beginners covers most of the basics.
3. Learn RV Components
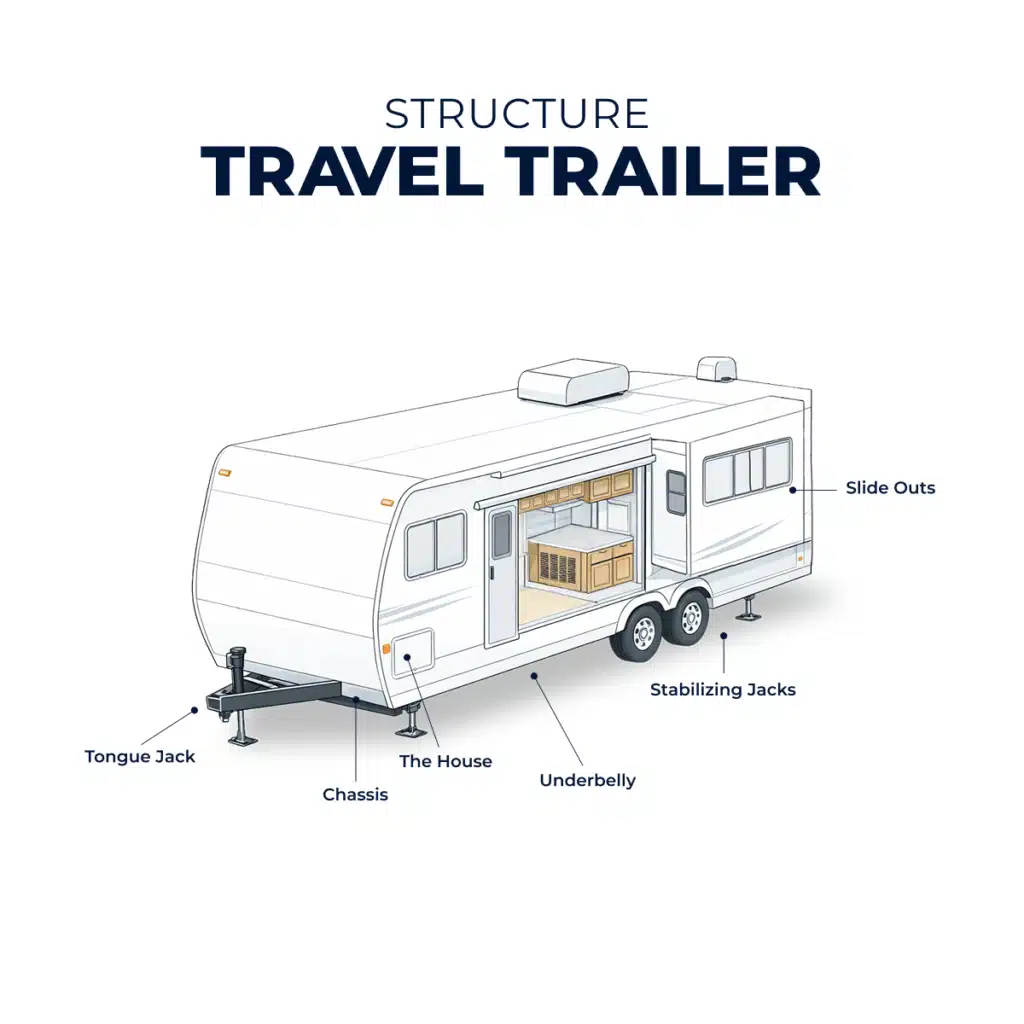
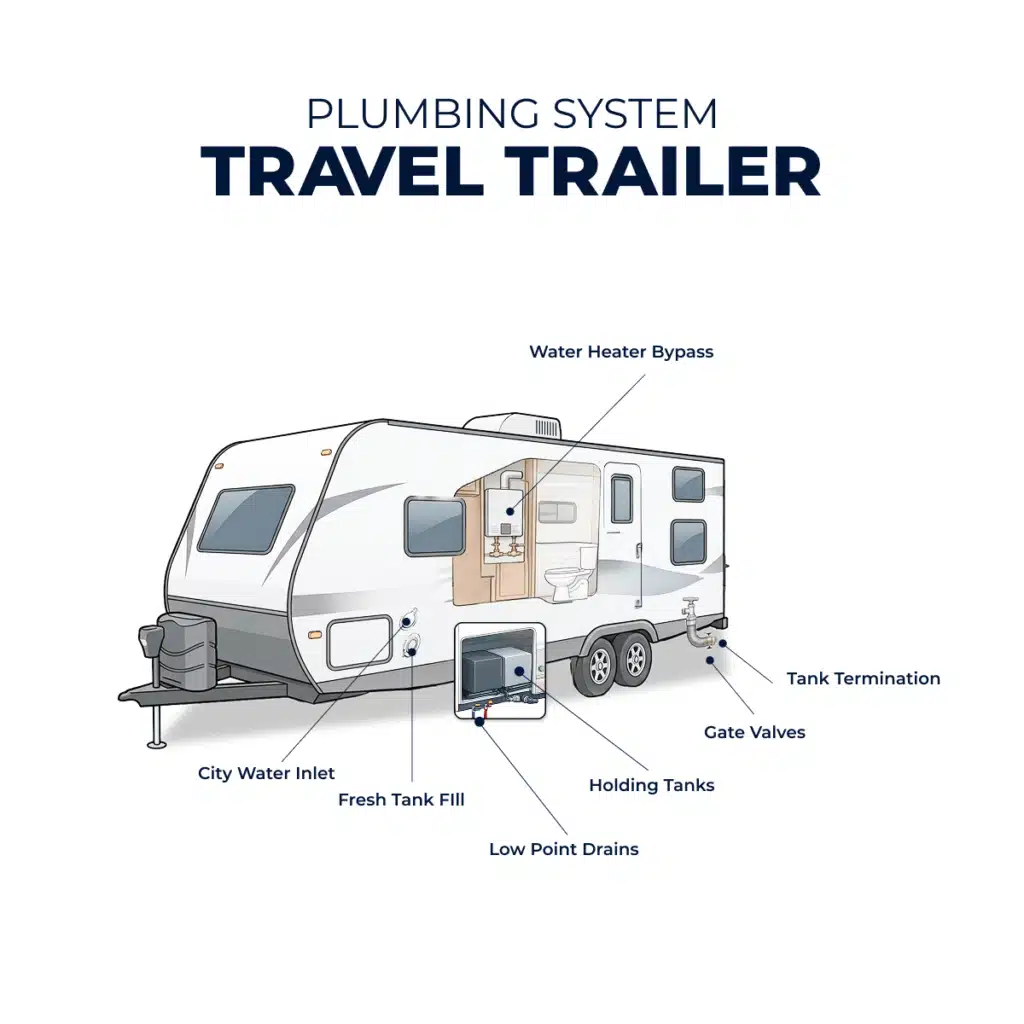
Walk the rig and identify each RV component listed below.
- Battery disconnect switch. Learn where this is and which way is “on.” It’s the first thing to check any time the RV seems unresponsive, and it solves a surprising number of mysteries.
- Fuse and breaker panel. Note fuse amperage ratings so you can stock spares.
- Control panel. Usually by the entry door or in the galley. Lights, tank levels, battery charge, water pump, and water heater switches.
- Water heater bypass valves. You’ll use these when you winterize. Finding them today makes that job a lot shorter. Keep in mind that most tankless water heater installations may not have bypass valves.
- Low point and fresh tank drains, gravity fill, city water inlet, black tank flush port. Not sure where they are? Check your manual.
- Propane container valves, the regulator, and the changeover indicator. Grab that manual.
- Manual override cranks for slides and electric jacks. Most slides have one, and sometimes you can bring a slide in by hand.
- Emergency exit window. Open it once so you know how. The latch isn’t obvious the first time.
- Fire extinguisher, its gauge, and its date, plus other RV safety equipment like the LP/CO detector and the smoke alarm.
Use this as a starting place, but there’s still plenty to learn.
At this point, you could stop your at-home test run and already be much more prepared for your first camping trip. If you want to keep going, the next four sections cover the systems.
4. Connect to Water
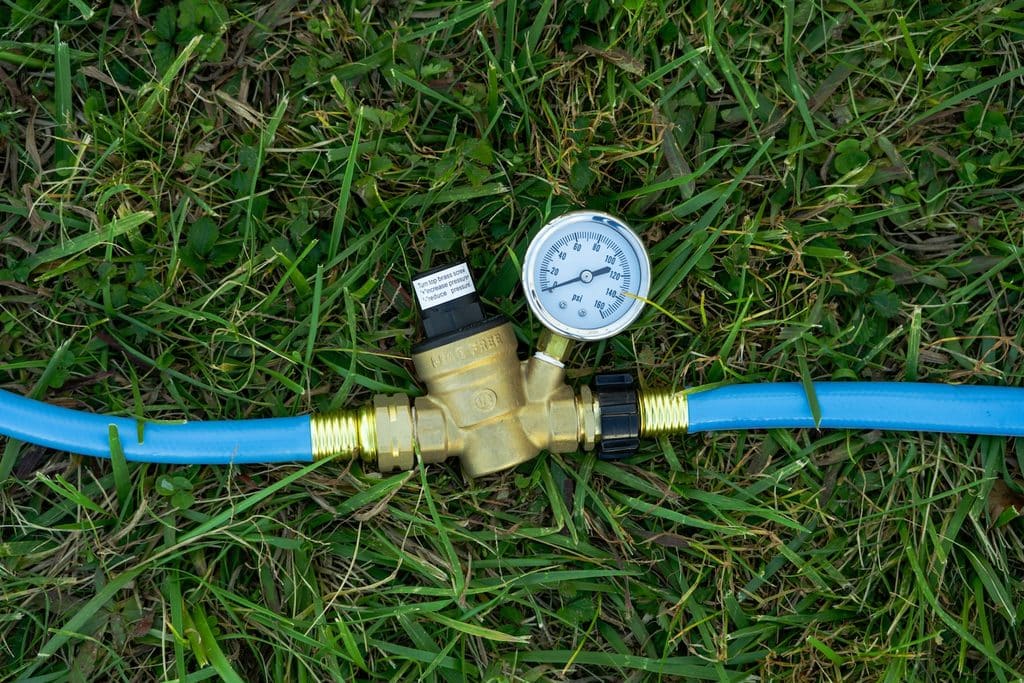
The outdoor spigot at your home can work to check your water systems. To do so, connect everything in this order:
Spigot → pressure regulator → water filter → drinking-water-safe hose → 90-degree elbow → city water inlet
Because home water pressure often exceeds what RV plumbing is built for, you will need to connect through a pressure regulator set to 50-55 psi, and use a high-flow model if you have a tankless water heater.
Before you turn anything on, check for missing or worn O-rings at both ends of the hose, inside the regulator, and inside the water filter. Then open the spigot and walk the connections, looking for drips. Now you’ve got running water in your driveway.
Once the system holds pressure, disconnect the hose from the city water inlet and switch to the fresh tank. Insert the hose into the gravity fill, fill the tank roughly halfway, then cap it.
Flip the pump switch on your systems panel and open a faucet. The pump will hum and cycle on and off as it maintains pressure — that’s normal. What’s not normal is hearing it cycle when nobody’s using water, which usually points to a leak or a failed check valve.
One more thing before you drink from it: your plumbing has been sitting since the factory, so sanitize the fresh water system. It’s a several-hour job, so plan it for a separate afternoon.
5. Turn On + Test Propane
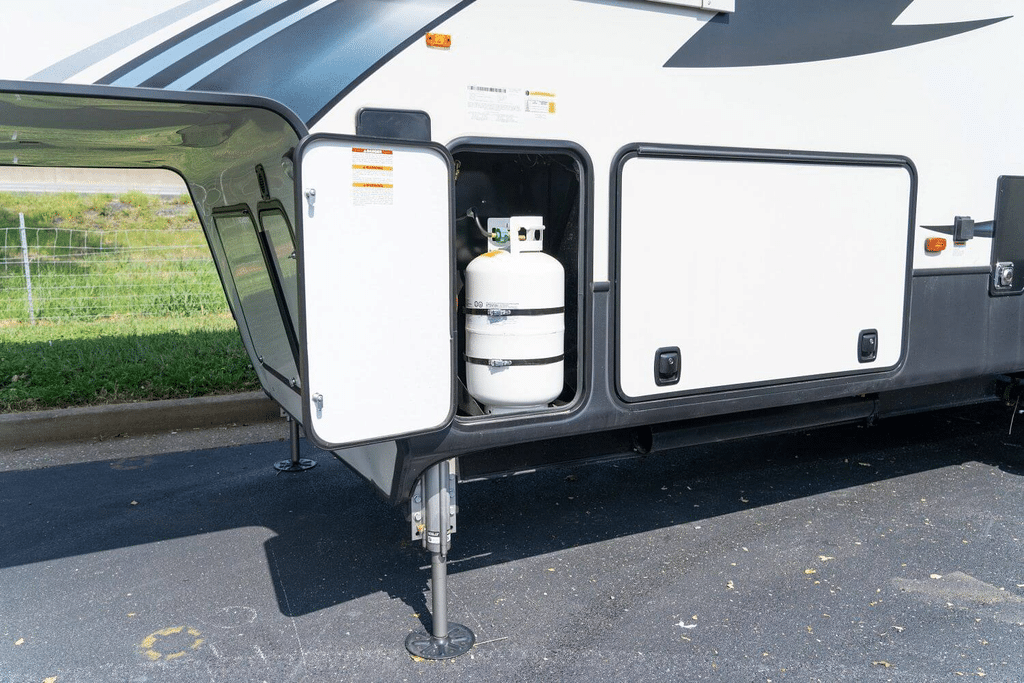
Propane doesn’t require hookups, so this is one system you can check completely at home.
Start at the LP containers. Find the valves and the regulator. On a two-container setup, you’ll typically have an automatic changeover regulator with a selector lever that points to whichever container is feeding the system, and a small indicator window that turns from green to red when that container runs dry.
Point the lever at your primary container and slowly open that container’s valve.
Technician Tip: Treat the second container as a spare and leave its valve shut until the primary runs out. That gives up the automatic switchover, but it means you always know exactly how much propane you have left. When the primary empties, open the spare and go get the first one refilled.
Now check for leaks. Mix ammonia-free dish soap and water 50/50 and spray the regulator and every fitting with the system pressurized and all appliances off. Growing bubbles mean a leak. If you see any, close the valves and tighten the pigtail — the short flexible hose running from each container to the regulator — then retest. If it still bubbles, leave the valves closed and call a technician. [The National RV Training Academy walks through the full procedure.]
Move inside and start with the cooktop. Crack a window first. Light every burner, and don’t panic if the first one takes several tries — there’s air in the lines that has to purge before propane reaches the burner. If you have an oven, light it and let it come up to temperature.
Technician Tip: Most RV ovens, and many cooktops, require you to press the control knob in and hold it for several seconds to keep gas flowing to the burner while the thermocouple heats up.
The furnace and water heater also burn propane, but they need 12V power for their control boards, so those come next.
6. Run Heating + Water Heater
First, adjust your thermostat to turn on the furnace. Let it run a full cycle so you learn the whole sequence: board clicks, blower spins up, burner lights, warm air.
Keep an eye on your battery level monitor. Don’t run this too long, just enough to feel comfortable.
While it’s running, check that your furnace vents aren’t blocked. They’re often at floor level, right where storage bins like to end up.
Your water heater also runs on propane. One rule to commit to memory: fill the water system before you light it. Confirm your bypass valves are set for normal operation rather than winterize mode, get water flowing, then fire it up.
Technician Tip: Avoid turning on the electric heating element of a conventional tank water heater until you’ve confirmed the tank is full of water. This does not apply to most on-demand water heaters.
Which fridge do you have? Some older RVs use an absorption fridge, propane or 120V, with a 12V control board. Many newer units use a 12V compressor fridge, which runs entirely off your battery and uses no propane at all. Check the label inside the door to determine which you have, and if propane is an option for your fridge, now is the time to test it as well.
Before you finish, practice shutting it all down: LP container valves closed, appliances off.
7. Run the AC
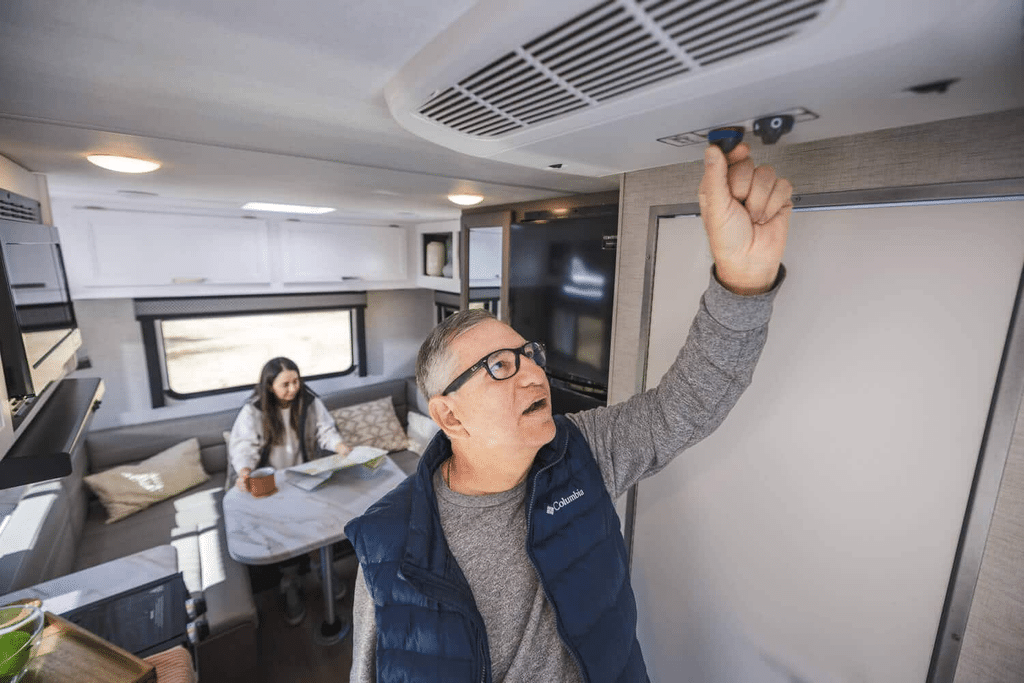
Your air conditioner probably won’t run in the driveway. Roof units are 120V and pull far more than most RV house battery and inverter setups can supply, so testing one takes shore power or a generator. If you have a 30-amp outlet or a portable generator, you’re in luck. Otherwise, you’ll have to wait until you hook up at the campsite.
There’s still plenty you can check without power.
Find the thermostat and figure out whether your system is ducted (vents run through the ceiling) or non-ducted (air comes straight out of the ceiling panel). That tells you where the filter lives. Locate it and learn how to pull and clean it, which helps keep the unit running well. Repeat it after each trip or at least seasonally.
Then learn to operate every roof vent. If you have a powered vent fan, run it. It’s 12V, pulls only a couple of amps, and it’s one of your better cooling tools off the grid. Set it to exhaust, open a window at the far end of the rig, and you’ll feel it pull air through the whole coach.
While you’re at the windows, check that every one latches and seals, and that the screens sit flush with no gaps at the corners.
8. Learn Your Clearance
Measure your RV’s true height, A/C shroud included. Don’t trust the brochure. Some manufacturers publish exterior height with the A/C shroud, some don’t. If yours doesn’t, you may call the manufacturer directly or look up the height dimension spec for your specific A/C make and model and add that to your RV’s published height, which can be safer than eyeballing a measurement from a ladder.
This will come in handy when navigating bridges or underpasses with low clearance. Google Maps doesn’t always know you’re driving an RV, so you need to!
Frequently Asked Questions
Yes, and it’s one of the best things a new owner can do. Rules on how long an RV can be parked in a residential driveway vary by municipality and HOA, so it’s worth a quick check of your local ordinance before you plan a full day out there.
Not in most RVs, and not for long, even in those that can. Roof air conditioners run on 120V and draw far more than a standard house battery and inverter can supply. You need shore power or a generator.
Yes. Connect a drinking-water-safe hose with a pressure regulator to your city water inlet and the whole plumbing system pressurizes without using your pump or any battery power.
Technically, you can plug your camper into a traditional Edison-style outlet with a 15-amp to 30-amp adapter (15-amp male to 30-amp female) and a heavy-duty 12-gauge extension cord. That 120V outlet can run your converter, lights, and outlets, and recharge your battery.
Technician Tip: To be safe, this outlet should be on its own circuit. Always confirm that any outlet at home is properly wired for RV use; do not assume. Always have a licensed electrician verify any outlet larger than your typical 15 to 20-amp house outlet. Additionally, RVs with 50-amp native shore power would require a 15-amp to 30-amp AND a 30-amp to 50-amp, and would have even more extensive power limitations since 50-amp service has two power legs, which provide a total of 100 amps.
Yes, and you’ll enjoy it a lot more. A driveway session covers the RV standing still. A shakedown trip adds towing, backing, leveling on uneven ground, and real hookups.
More Resources:
- Why You Should Plan an RV Shakedown Trip
- A Comprehensive RV Setup Checklist for Your Campsite
- 55+ RV Essentials for Camping Beginners
For a one-on-one walkthrough of anything covered here, Good Sam Elite members can call the Technical Support hotline. Need a membership? Click here.
What did your driveway practice run turn up that you didn’t expect? Tell us in the comments below.
The post First RV Trip? Your Driveway appeared first on Camping World Blog.