If your RV air conditioner hums, buzzes, or clicks but the compressor never quite kicks in, or it kicks in and then stalls, the AC capacitor may be failing. It’s one of the most common component failures in RV AC units and often the first domino to fall before the compressor gives out, which is more costly to fix.
This guide walks through what the capacitor does, how to recognize the signs it’s failing, and why an RV AC capacitor replacement is a repair we recommend leaving to a certified technician.
What Does the Capacitor Do in an RV Air Conditioner?
Your RV AC’s compressor needs a strong initial surge of electricity to start spinning; more than it needs to keep running once it’s up to speed. This is often called ‘surge wattage’ in an air conditioner’s specifications. The start capacitor stores and releases that surge, giving the compressor the power it needs to start.
Some air conditioners also use a run capacitor, which remains in the circuit while the compressor is operating, helping it run more efficiently. Both start and run capacitors can fail, and the symptoms often resemble those of a dying compressor, which is why this issue is commonly misdiagnosed.
Additionally, there are capacitors for the fan. These can have similar symptoms, such as a fan that doesn’t start and only hums, starts slowly, or bogs down when the wind blows against the outdoor condenser fan. As with the compressor, there may be a start or a start/run capacitor setup.
Signs Your RV AC Capacitor Is Failing
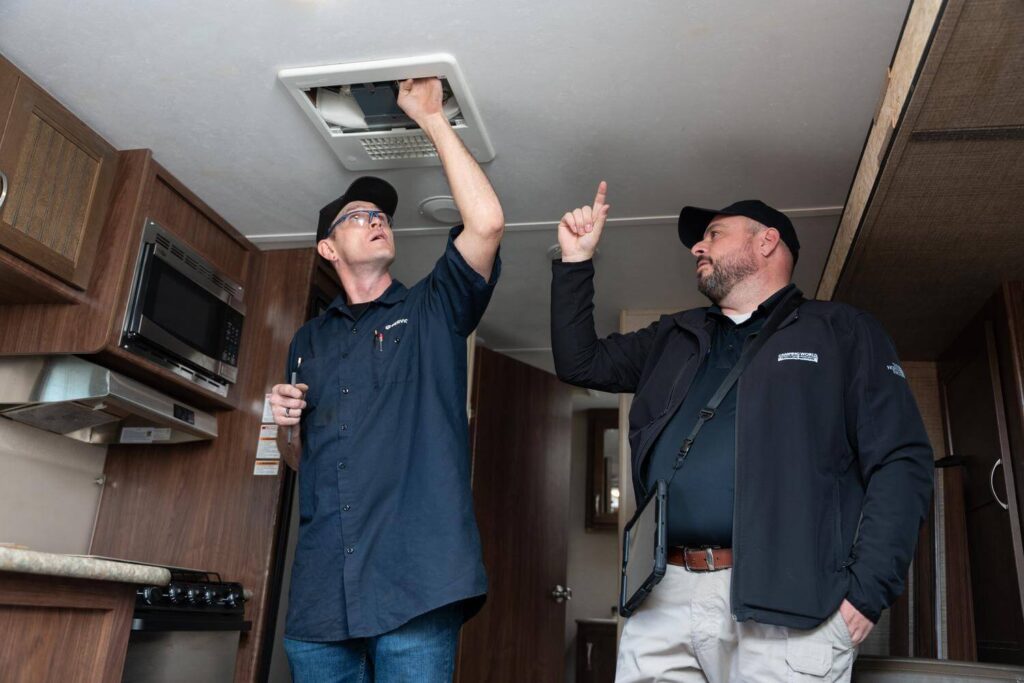
A failing air conditioner capacitor produces a fairly recognizable pattern of symptoms:
- Humming or buzzing when the AC tries to start, but the compressor doesn’t actually engage.
- The compressor attempts to start, then stalls or shuts off within a few seconds.
- The fan runs normally, but the air never gets cold.
- The AC works intermittently; sometimes it starts fine, other times it doesn’t.
- There’s a noticeable delay before the compressor kicks in, longer than the unit used to take.
This pattern shows up across brands, but it’s especially well documented on Coleman Mach® units. If you have one of these air conditioners, check out our brand-specific Coleman Mach® AC repair guide.
How To Test an RV AC Capacitor
This section will teach you what a proper diagnosis actually involves, but it is NOT a DIY walkthrough. Testing a capacitor accurately requires a multimeter capable of reading capacitance, knowledge of the correct microfarad (µF) rating for your specific air conditioner, and safely discharging the capacitor before ever touching its terminals. The importance of this last point can’t be overstated for your personal safety.
A certified technician will typically first confirm the AC is receiving adequate power and test to rule out a compressor issue. They will then safely discharge the capacitor, test its capacitance against the manufacturer’s rated value, and inspect for visible signs of failure, such as bulging, leaking, or a cracked case.
A capacitor that tests below its rated capacitance or shows physical damage gets replaced with an exact match for your A/C unit’s specifications. Using the wrong capacitor value can cause the compressor to run hot or fail prematurely, which can also result in serious injury or fire.
Technician Tip: Technicians are now required to use OSHA-approved fall protection any time they go onto a roof. Owners should take the same precautions when performing maintenance and inspections at home. If sufficient fall protection isn’t available, it’s another good reason to trust certified technicians with any work on the elevated roof of your camper.
Capacitor Failure vs Compressor Failure

These two failures can look nearly identical, but they have very different price tags.
- Capacitor failure: the compressor attempts to start (with a hum, buzz, or click) but doesn’t stay running. This is the classic capacitor signature.
- Compressor failure: no attempt to start at all, a continuous, unusual noise from the compressor area, or a burning smell. This points toward the compressor itself, which is a more involved and expensive repair.
Technician Tip: Use a non-contact thermometer to check whether the compressor is hot, rather than touching it with your hand, to avoid potential burns or electric shock.
Our guide on why your RV AC isn’t cooling covers the full compressor diagnostic process.
When in doubt, a professional diagnostic is recommended. Testing the capacitor is usually the first, fastest step a technician takes, since it’s the less expensive possibility to rule in or out.
Technician Tip: Always insist on a complete test of the entire system. When the quick, easy first test shows a component is bad, simply replacing it doesn’t answer why it failed or whether there is more wrong. For instance, is the compressor weak, and has it ruined the capacitor over time? Or was the capacitor failing for a while and has weakened the compressor? Never stop testing with the first failure.
Why You Should Not DIY an RV AC Capacitor Replacement
To be 100% clear, testing or replacing an RV AC capacitor yourself is not a project we recommend, even if you’re comfortable with other RV maintenance.
AC capacitors store a substantial electrical charge, often in the range of 370 to 600 volts. That charge remains dangerous even after the camper is completely unplugged and powered down. Unlike a battery, a capacitor holds its charge until there is a path to ground, at which point it dumps all its stored energy at once. Discharging this energy safely requires the right tools and techniques.
Touching the terminals without discharging them first can result in a serious shock and burns. A start capacitor’s stored charge can use you as its path to ground if you open the enclosure without proper precautions.
Sure, some AC-related upgrades, like installing a soft start, involve working near the capacitor, but there are specific safety precautions to be followed for those tasks. Diagnosing and replacing a failed capacitor is different. It means handling an already compromised, unpredictable component, and certain tests require the system to be fully energized, both of which expose you to extreme risk. That combination of uncertain condition plus stored high voltage is what certified technicians are trained for, and most DIY attemptees are not.
The good news is that professional RV AC capacitor replacement is typically a fast, affordable repair once it’s properly diagnosed. A run or start capacitor replacement usually costs $220 to $420 and is completed in a single visit. It’s actually one of the least expensive RV AC repairs, especially compared to the cost of a compressor that fails from being run too long on a bad capacitor.
Ready to get it looked at? Schedule a capacitor diagnostic.
How To Reset the RV AC After Capacitor Replacement

Once a technician has replaced your capacitor, a quick reset confirms everything is working correctly:
- Turn the AC off at the thermostat.
- Cut power at the breaker for 3-5 minutes.
- Restore power and set the thermostat at least 5°F below the current room temperature.
- Allow 20-30 minutes of runtime before judging performance.
We cover the same reset procedure in more detail in the How To Reset Your RV Air Conditioner section of our air conditioner troubleshooting guide.
How To Prevent Capacitor Failure
Every owner should have, and learn to use, a device to test shore power before connecting their RV. A quality multimeter is a great place to start, and our guide on how to use a digital multimeter will help you learn how to use one if you’re unfamiliar.
Avid campers should also consider a power monitoring device like Watchdog surge protectors. These devices let you know if the voltage and wiring polarities are within specifications.
You should never run your RV on a shore power source unless it’s within 108-132 volts AC. Voltages above or below this range will put all systems at extreme risk of damage. As voltage drops, amperage increases. This means that when the voltage is low, the system has to work much harder. This can wear it out much faster than under normal operating conditions.
Schedule a Capacitor Diagnostic
If your RV AC is humming, buzzing, or stalling on startup, don’t keep running it while you wait to figure out the issue. Straining a failing capacitor risks turning an inexpensive repair into a costly compressor replacement.
Camping World’s certified technicians can quickly diagnose whether it’s the capacitor, the compressor, or something else entirely, and handle the repair safely from there.
Having other RV AC issues? Read our full RV Air Conditioner Troubleshooting Guide for help with power issues, water leaks, unusual noises, and more.
Did this guide help you diagnose your RV AC issue? Let us know in the comments below!
The post RV AC Capacitor Replacement Tips for Owners appeared first on Camping World Blog.